The Vortex-dV is a versatile, robust, stand-alone torque tester, rated to
Configure this motor-driven stand with a torque sensor connected to a display unit, a choice of gripping fixtures, and optional software.

Got a question about a product? Your local representative is...
Mecmesin/PPT Group (USA)

Vortex test frame
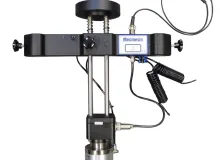
A sturdy twin-column test frame capable of applying torque up to 10 N.m (90 lbf.in). Tall and wide enough to accept a variety of test specimens yet compact to use as a bench-top tester.
Test frame
The Vortex-dV has a sturdy, twin-column, motorised test frame which is designed to apply torque up to a capacity of 10 N.m.
Specimens up to 440mm tall and 280mm wide can easily be tested in both clockwise and counter-clockwise directions.
Manual controls
The Vortex-dV has a control wheel for interacting with the motor and the onscreen menu. Its small footprint makes it the perfect choice as a bench-top device.
Display
The Vortex-dV display provides a clear read out of the current torque and when combined with an Advanced Force & Torque Indicator can store up to 500 readings and peak torque.
Torque sensors
A range of 'Smart' interchangeable torque sensors are specially adapted for the Vortex-dV test system. Plug and play for automatic calibration and a range of capacities for all requirements, from 1.5 N.m (13 lbf.in) to 10 N.m (90 lbf.in).

'Smart' torque sensors
The 'Smart' range of interchangeable torque sensors is specially adapted to the Vortex-dV. To ensure that you have the optimum selection to meet your torque testing needs, four different sensors are available. All sensors measure from zero and cover the range from 1.5 N.m right up to 10 N.m.
Measurement accuracy is an outstanding ±0.5% of the sensor capacity.
The 'Smart' sensor you choose is connected to a single torque display unit (AFTI), which automatically recognises the calibration characteristics without any input from the operator. The AFTI is linked to the test frame via an interface cable allowing measurement data to be simultaneously displayed on its control panel.
Each sensor is fitted with a ⅜" male square drive for connection to a range of fixing tables and chucks to hold your specimens.
Sensor capacity, range and accuracy
Each sensor reads from zero to its full nominal capacity (listed below). Measurement accuracy is an outstanding ±0.5% of the sensor capacity.
| Model | 1.5 | 3 | 6 | 10 |
|---|---|---|---|---|
| N.m | 1.5 | 3 | 6 | 10 |
| kgf.cm | 15 | 30 | 60 | 100 |
| lbf.in | 13 | 26 | 50 | 90 |

Each sensor is delivered as standard with its own calibration certificate traceable to national standards.
Servicing and calibration

Mecmesin also provides annual servicing and torque sensor re-calibration. Talk to one of our engineers or your local national distributor to find out more.
Emperor™ Software


VectorPro® Lite software
Available as an optional extra to Mecmesin’s Vortex-dV motorised torque tester, VectorPro Lite is an advanced data acquisition and plotting software package. Call-up pre-stored test routines, present test data graphically and issue test reports.
Simply connect the interface cables from your motorised torque tester to your PC, and you are ready to enjoy enhanced testing with the power of VectorPro Lite.
Advanced data acquisition, plotting and test storage

Live torque values are captured and automatically sent to VectorPro Lite to plot the graph of torque vs time/angle. This helps to visually identify any events during the test which cannot be picked up by just having a peak reading on the instrument display.
To help determine whether your sample has met the necessary criteria, there is a suite of standard calculations with indicators of pass or fail to immediately alert the operator.
A statistical analysis of results per batch of samples is produced and then incorporated, together with the graphs, into a customisable PDF or csv test report for your customer.
Connected to the Vortex-dV torque tester, VectorPro Lite enables the creation, storage and upload of basic test routines. Easily construct flexible operational sequences by drag and drop, edit with version control, and upload them to the tester—you're then all set to go for the ultimate in repeatable torque testing.
Accessories
Choosing your accessories
It's important that your sample is gripped and held correctly to achieve accurate test results.
Our accessory catalogue contains a wide range of accessories and you should find exactly what you need. Key specifications (such as load rating) are listed on all of our grips and fixtures.
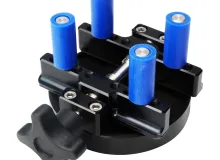
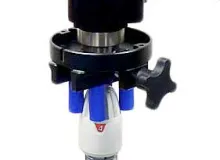
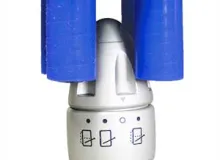
Example test accessoriesKey specs
Key specs
Torque
| Model | 1.5 N.m | 3 N.m | 6 N.m | 10 N.m |
|---|---|---|---|---|
| N.m | 0 - 1.5 | 0 - 3 | 0 - 6 | 0 - 10 |
| kgf.cm | 0 - 15 | 0 - 30 | 0 - 60 | 0 - 100 |
| lbf.in | 0 - 13 | 0 - 26 | 0 - 52 | 0 - 90 |
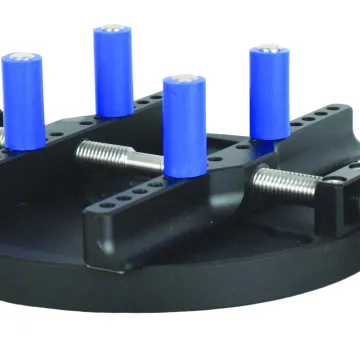
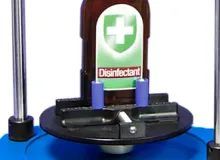
![Pneumatic split mandrel [PDV14181] Pneumatic split mandrel [PDV14181]](/sites/default/files/styles/accessory_browser/public/part/2021-02/1772-PDV14181-mandrel-web.jpg.webp?itok=kLfQuisN)
