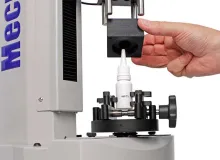
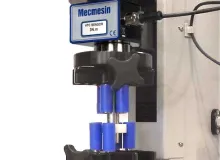
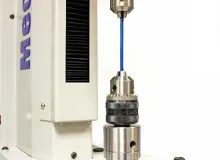
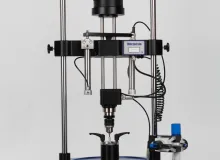
The Helixa-i is a top of the range torque tester controlled by software running on a PC. Designed for precision torque applications where torque forces may be very small and accuracy is the priority.
With a wide range of precision fixtures, the Helixa-i is easy to use and optimised for measuring torque from as little as

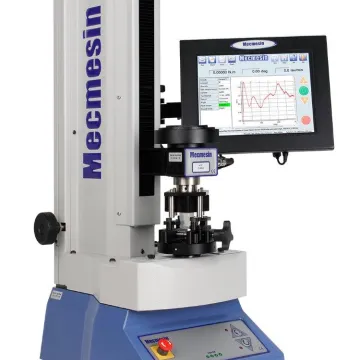
The Helixa-xt is a top of the range torque tester controlled by a touchscreen console. Designed for precision torque applications where torque forces may be very small and accuracy is the priority.
With a wide range of precision fixtures, the Helixa-i is easy to use and optimised for measuring torque from as little as


The Helixa-i is a precision torque tester controlled by software running on a PC. Designed for precision torque applications where torque forces may be very small and accuracy is the priority.
With a wide range of precision fixtures, the Helixa-i is easy to use and optimised for measuring torque from

Got a question about a product? Your local representative is...
Mecmesin/PPT Group, UK

Helixa test frame
A precision motorised test frame designed to apply torque from a few mN.m right up to a capacity of
Its sensitivity and axial alignment make it perfectly suited for testing fine-precision components in a quality control or R&D environment.
Test frame
The Helixa-i and Helixa-xt feature a precision motorised test frame which is designed to apply torque from a few mN.m right up to a capacity of 6 N.m.
The effect of extraneous loads is minimised by the Helixas outstanding axial alignment and its counter-balance mechanism, ensuring that it is the ideal choice for repeatable testing of low torque specimens.
Its versatile construction even allows for an axial force to be simultaneously applied whilst torque is measured - essential for products, which require a mechanism to be engaged before they can rotate.
Connect your computer
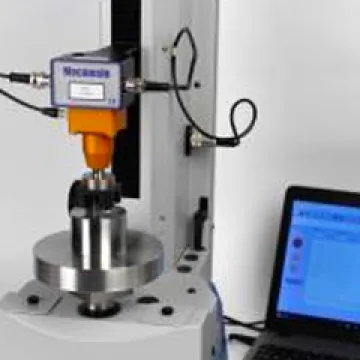
The Helixa-i requires a Windows PC to run the Emperor software and control the torque tester. Its compact design and small footprint make it the perfect selection as a bench-top device.
Integrated console
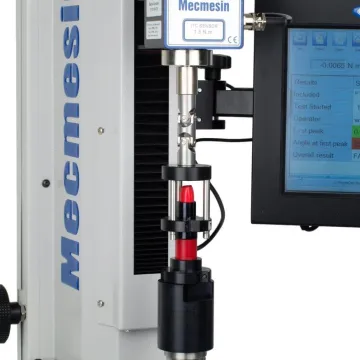
The Helixa-xt is fitted with a Windows-based touch screen console. Comparable to a standard PC but operates excellently as a standalone bench-top torque tester. It saves time by not having to move to and fro a computer.
Torque sensors
The HTC range of interchangeable torque sensors are specially adapted for the Helixa test system. Plug and play for automatic calibration with availability to suit all requirements in capacities from

HTC torque sensors
The HTC range of interchangeable torque sensors is specially adapted to the Helixa-i and -xt test systems.
They plug into the frame of the precision torque tester and their calibration characteristics are immediately recognised by the software without any input from the operator.
Each sensor is fitted with a ⅜" male square-drive for connection to a range of fixing tables and chucks to hold your specimens.
To ensure that you have the optimum selection to meet all your torque testing needs, seven different sensors are available. All sensors measure from zero and cover the range from
Sensor capacity, range and accuracy
Each sensor reads from zero to its full nominal capacity (listed below). Measurement accuracy is an outstanding ±0.5% of the sensor capacity.
| Model HTC | 0.1 | 0.2 | 0.3 | 1 | 1.5 | 3 | 6 |
|---|---|---|---|---|---|---|---|
| N.m | 0.1 | 0.2 | 0.3 | 1 | 1.5 | 3 | 6 |
| kgf.cm | 1 | 2 | 3 | 10 | 15 | 30 | 60 |
| lbf.in | 0.9 | 1.8 | 2.7 | 9 | 13 | 26 | 50 |

Each sensor is delivered as standard with its own calibration certificate traceable to national standards.
Servicing and calibration

Mecmesin also provides annual servicing and torque sensor re-calibration. Talk to one of our engineers or your local national distributor to find out more.
Emperor™ Software


Emperor™ Torque software
Easy-to-use software with almost limitless freedom to design and customise torque tests to suit your needs. Developed by Mecmesin in close collaboration with our customers, Emperor™ is now trusted by over 5,000 companies for the detailed testing and evaluation of their products.
Create simple tests for the production line and more complex laboratory tests to prove design standards are met.
Key features
Create
Intuitive user interface
Build test routines step by step
Favourite one-touch tests
Test
Real-time graph plotting
Display measured and calculated values
Clear pass/fail indication
Report
Standard and customisable templates
Print results to Adobe PDF format
Export results to Excel and SPC packages
Trusted by over 5,000 customers worldwide
Learn more about EmperorAccessories
Choosing your accessories
It's important that your sample is gripped and held correctly to achieve accurate test results.
Our accessory catalogue contains a wide range of accessories and you should find exactly what you need. Key specifications (such as load rating) are listed on all of our grips and fixtures.
Example test accessoriesOverview
The Helixa-i automated torque tester is controlled by software run on a computer. It delivers both consistency and reliability by controlling the key test parameters of torque, angle and speed. This means that the inherent variability found when using a manual torque tester is almost fully removed. It is relied on by professionals around the world to objectively assess the quality of their precision components and fine assemblies.
The Helixa-i is the perfect solution for measuring low and medium torque on a variety of delicate or finely-engineered products. Its sensitivity and precision alignment make it suitable for testing high-quality assemblies, such as those found in cosmetics, jewellery, electronics, pharmaceutical and medical industries. Its versatile construction even allows for an axial force to be simultaneously applied whilst torque is measured - essential for products such as child-resistant closures.
The precision of the Helixa-i combined with Emperor control & acquisition software enables you to fully characterise the torque and friction in the rotation of parts and components. Where more than just a peak torque is required, use the power of Emperor to build a detailed extended profile to fully reveal the true performance of the test object.
It's precision alignment between gripping fixtures and samples gives high accuracy to deliver reliable and repeatable test results. This makes for an ideal tester to assess new product development against a specification.
The automated Helixa-i testing system comprises four key elements:
Test frame
The Helixa-i and Helixa-xt have a precision motorised test frame which is designed to apply torque from a few mN.m right up to a capacity of
When seeking to precisely measure such low torque it is often crucial to make sure that no extraneous forces are applied to the test object during the test. The innovative design of the Helixa-i and Helixa-xt allows you to counterbalance the weight of a grip thereby removing its influence upon the object under test.
Its versatile construction even allows for an axial force to be simultaneously applied whilst torque is measured - essential for products, such as child-resistant closures, which require a mechanism to be engaged before they can rotate.
Make use of your own PC to run its software and take advantage of its small footprint to make it the ideal choice as your bench-top torque tester.
Torque sensors
The HTC range of interchangeable torque sensors is specially adapted to the Helixa-i and Helixa-xt. They plug into the frame and their calibration characteristics are immediately recognised by the tester without any input from the operator.
Seven different sensors, all measuring from zero, are available to cover the range from
Each HTC sensor is delivered as standard with its own calibration certificate traceable to national standards.
Software
Emperor software is at the heart of the Helixa-i and Helixa-xt test systems. It runs on any Windows computer and controls the motor of the test frame whilst collecting data at an impressive 1,000 Hz from the ITC torque sensor and angle encoder of the frame.
Step-by-step test routines can be quickly and easily created according to the exact requirements of your testing procedures. The most commonly used test routines can then be simply selected by the operator using their 'favourites' button or from a standard drop-down list.
By plotting measurement data in real-time on a graph the operator can identify exactly how the test specimen is performing. Preset calculations are used to analyse the data to determine whether the specimen has met the pass/fail criteria of the quality-control specifications.
At the end of the test, the powerful reporting module within Emperor™ allows the operator to issue a test report as a PDF. Additionally, the data can be exported to Excel or to the network for further analysis by a Statistical Process Control (SPC) package.
Gripping fixtures
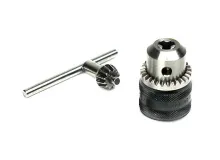
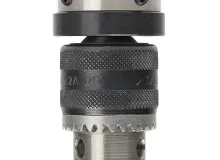
Holding your test specimen in place without it slipping is essential to obtaining repeatable results. Mecmesin has designed a range of torque grips to hold a variety of components. They include miniature chucks and mandrels to hold plastic and metal test specimens, fixing tables to secure bottles and containers plus many more.
The varying nature of specimen sizes and shapes often makes it necessary to design and produce a special grip. Mecmesin's team of design engineers can work with you to develop the best grip for your specimen and utilise our 3D printers to produce lightweight, precision fixtures to meet your needs.
Product datasheets
Product Brochures
Key specs
Torque
Available sensors (all measure from zero to the value indicated in the table below)
| Model HTC | 0.1 | 0.2 | 0.3 | 1 | 1.5 | 3 | 6 |
|---|---|---|---|---|---|---|---|
| N.m | 0.1 | 0.2 | 0.3 | 1 | 1.5 | 3 | 6 |
| kgf.cm | 1 | 2 | 3 | 10 | 15 | 30 | 60 |
| lbf.in | 0.9 | 1.8 | 2.7 | 9 | 13 | 26 | 50 |
Accuracy
±0.5% of full scale
Resolution
1:6500
Units of measurement
mN.m, N.cm, N.m, kgf.cm, gf.cm, ozf.in, lbf.in, lbf.ft
Sampling rate
2000 Hz
Data-acquisition rate
1000 Hz, 500 Hz, 100 Hz, 50 Hz, 10 Hz (user selectable)
Angle
Maximum displacement
2,500 revs
Accuracy
±0.1°
Resolution
0.2°
Speed
Range
0.1 - 30 rev/min (clockwise or counter-clockwise)
Accuracy
±0.2% of indicated speed
Resolution
0.1 rev/min
Axial alignment
Total runout (without fixtures)
Better than ±0.25 mm
Static weights (maximum)
Rear counterbalance
40 N (max)
Axial load via masses on platen
60 N (max)
Dimensions
Maximum headroom
292 mm without fixtures
Crosshead travel
127 mm without bellows
Throat depth
111 mm with bellows
Opening span of lower mounting table
10 - 190 mm (0.39 - 7.5")
Opening span of upper mounting table
10 - 78 mm (0.39 - 3.07")
Height
758 mm
Width
290 mm (Helixa-i)
586 mm (Helixa-xt)
Depth
414 mm (without external counterbalance)
505 mm (with external counterbalance and weights)
Weight
28 kg (Helixa-i)
32 kg (Helixa-xt)
Common specifications
Maximum power requirements
120 W
Voltage
230 V AC 50 Hz or 110 V AC 60 hz
Operating temperature
10 - 35°C (50 - 95°F)
Humidity range
Normal industry and laboratory conditions, non-condensing
Communications
Digital I/O
6 input, 6 output (TTL)
Output of test results to PC/printer/datalogger (Helixa-xt)
Yes - Includes auto-export to Microsoft Excel. Also data-export via RS232 port (direct or via USB/Network converter in ASCII format)
Network communications (Helixa-xt)
Ethernet RJ45, USB for external wireless connectivity
Key applications
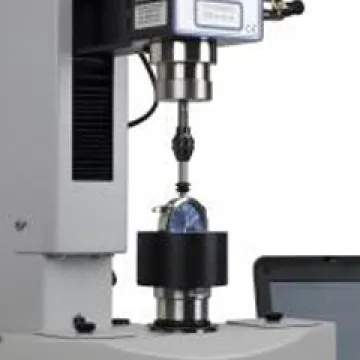
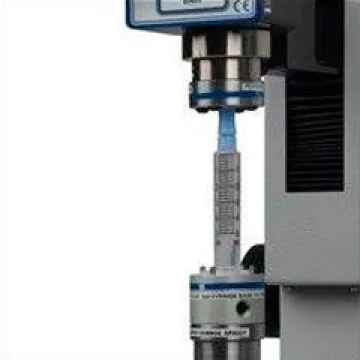


Got a question about a product? Your local representative is...


